

How to Sew Bias Tape: Easy Step-by-Step Sewing Tutorial
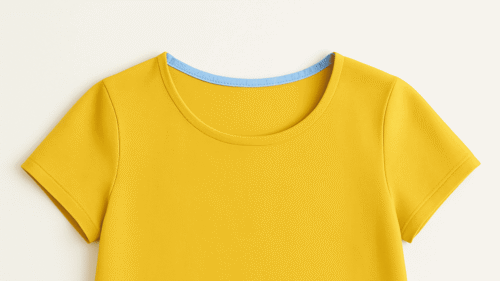
Master the art of sewing bias tape to give your handmade garments a polished, professional finish.


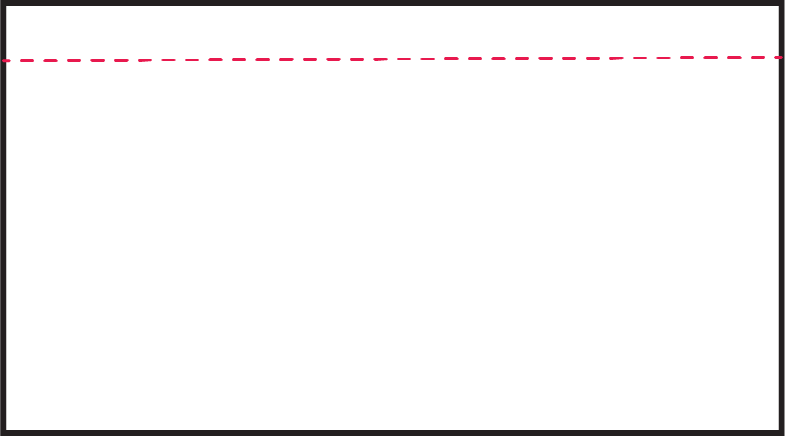
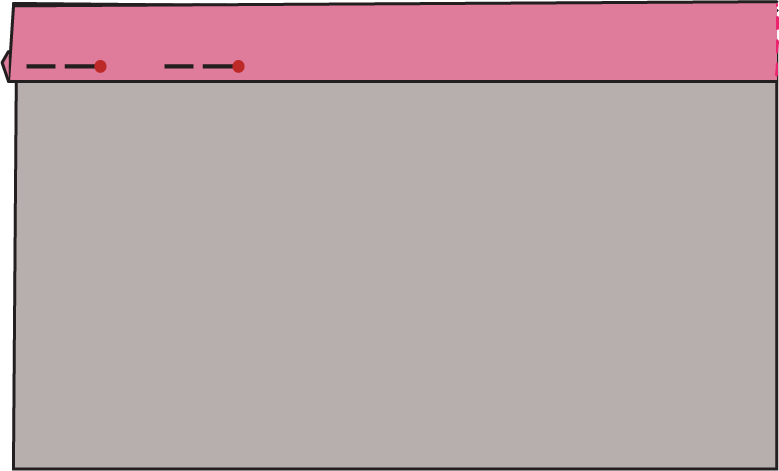
Sew a wide basting stitch on the garment with a 1 cm stitch width.
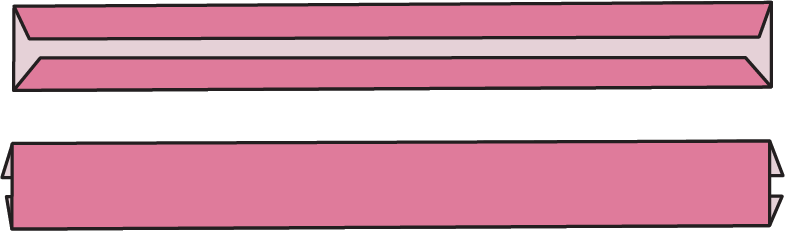
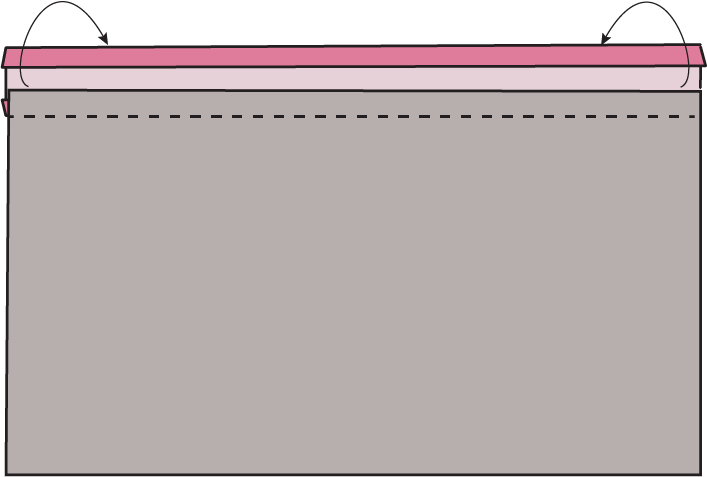
Unfold (open) the bias tape and fold the edge inside.
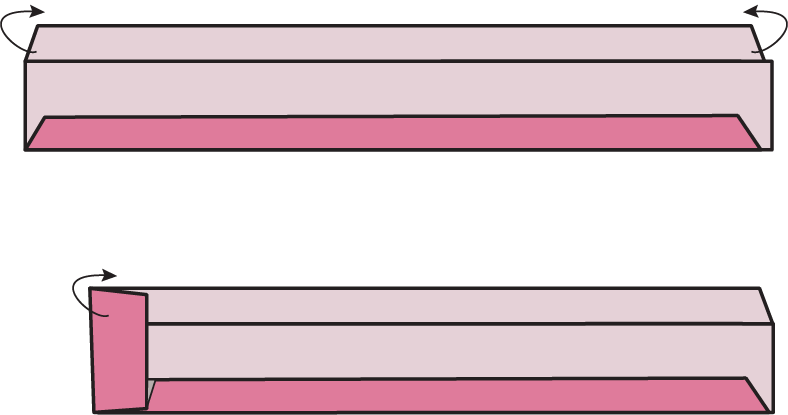
Pin the bias tape on the garment so that the fold line of the bias tape matches the topstitch.
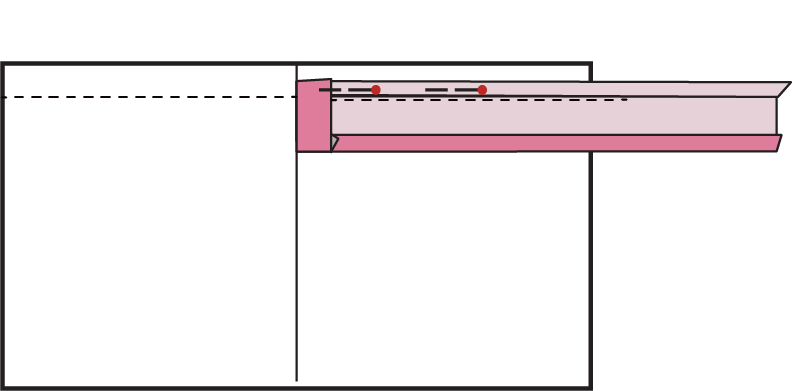
Continue pinning the bias tape until the end reached the start of the bias tape.
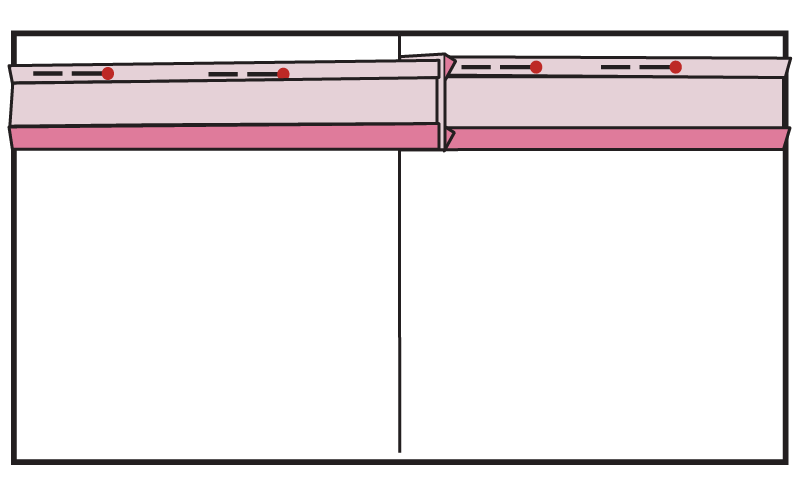
Sew where you pinned. The end of the bias tape should be into the start of it and secured with a stitch.
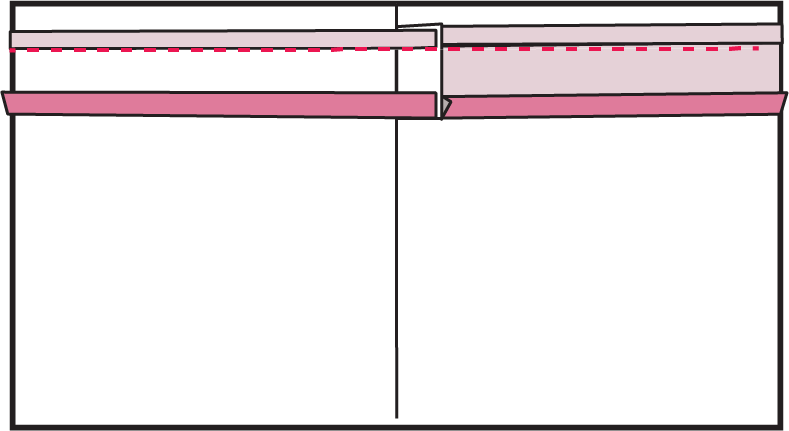
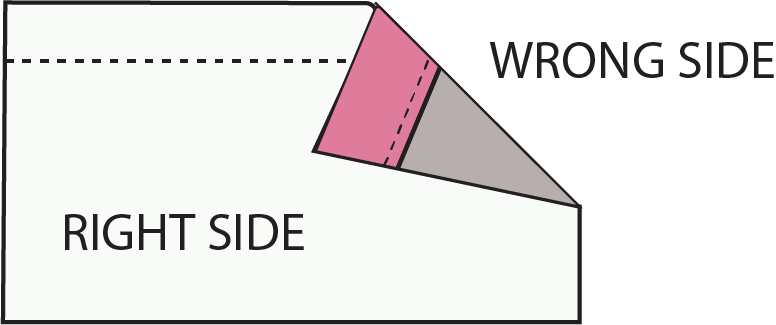
This is the result looking from the wrong side of the garment.
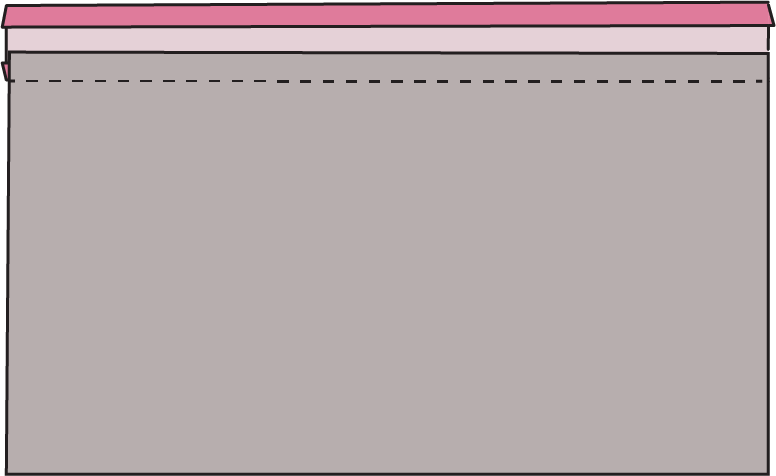
Fold the bias tape inside the wrong side of the garment and pin.
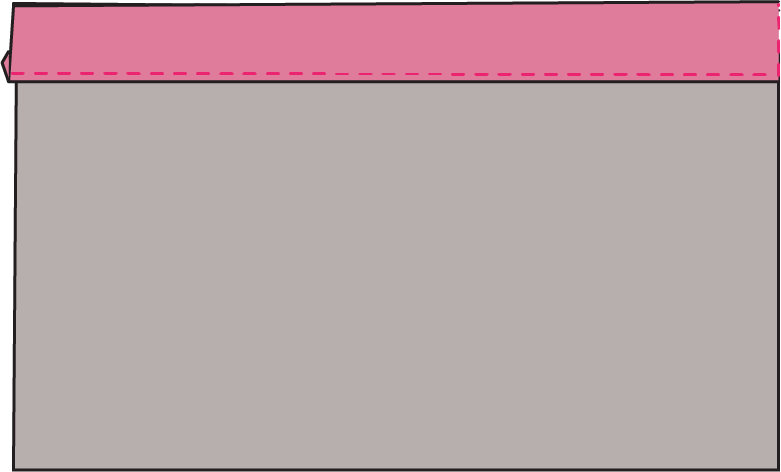
Now, sew the edge.
This is how the garment with the bias tape looks from the right and thw wrond side.
And that’s it! With these steps, you’ve learned how to sew bias tape and create a neat, durable finish on your projects. If you’re looking to grow your skills further, take a look at our guide on Printing Instructions and explore beginner-friendly products like the Girl’s Longsleeve Top Sewing Pattern Block or the Girl’s Dress Sewing Pattern Block. For more tips, browse our What is a Sewing Pattern? article or explore all our Sewing Patterns and Pattern Blocks to find your next project.