


How to assemble a blazer: Basic Guidelines
For Pattern Makers & Designers
Sewing a blazer for the first time can feel a little intimidating, but it’s also one of the most rewarding projects to take on. While our slopers are designed to give you the base shape and proportions, this guide offers a simple outline of the key steps involved in assembling a blazer. Think of it as a roadmap to help you understand the order of construction and what to expect along the way—so you can approach the process with confidence, whether it’s your very first blazer or just one of your first.
Seam Allowance
Before cutting make sure you add seam allowance to your patterns. If you need help, you can see our guide here.
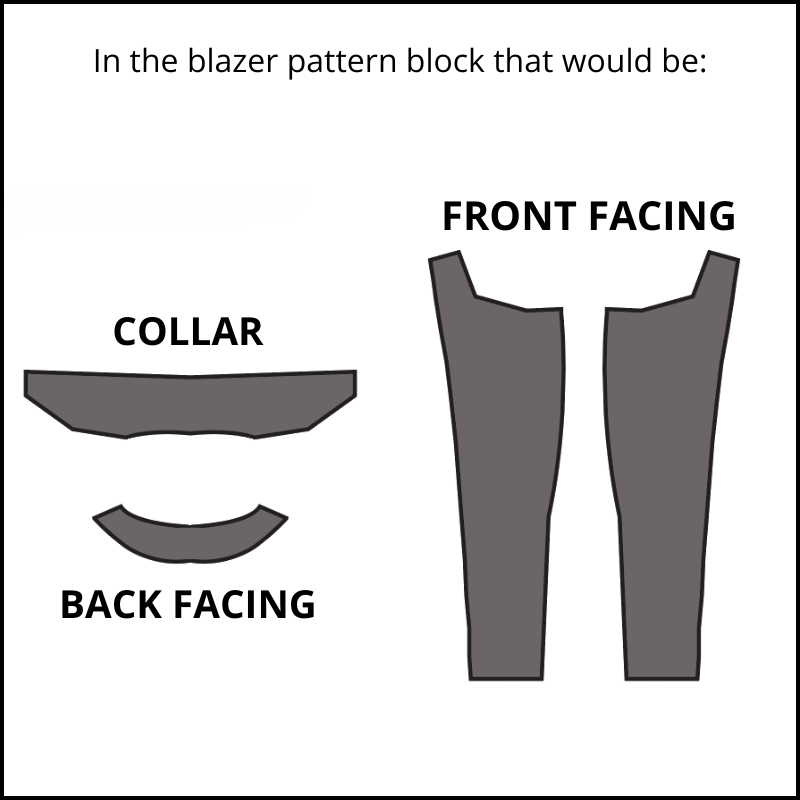
Add fusing to the collar and facings.
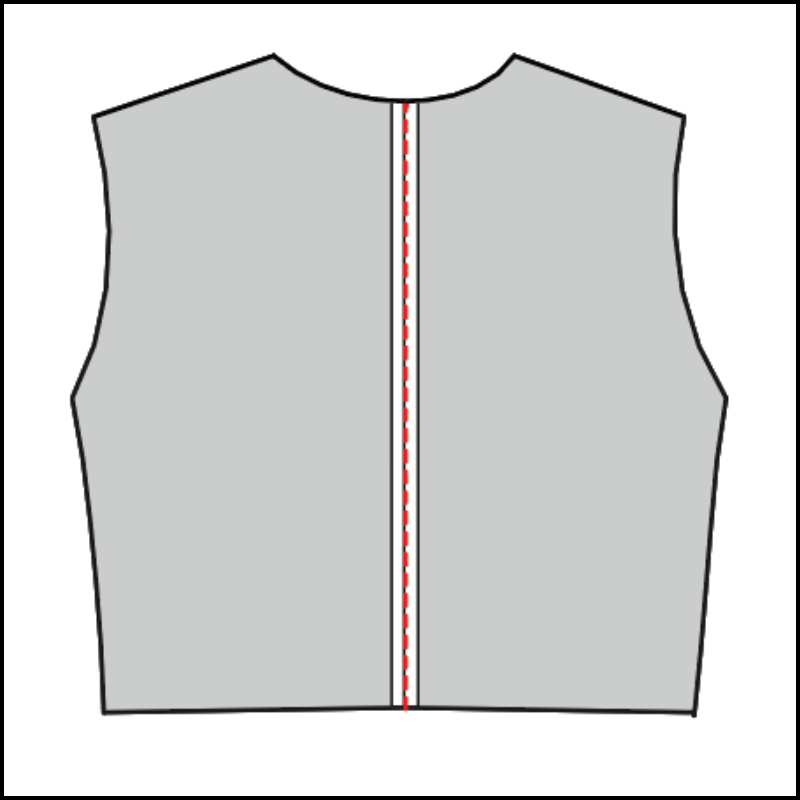
Sew the back pieces together.
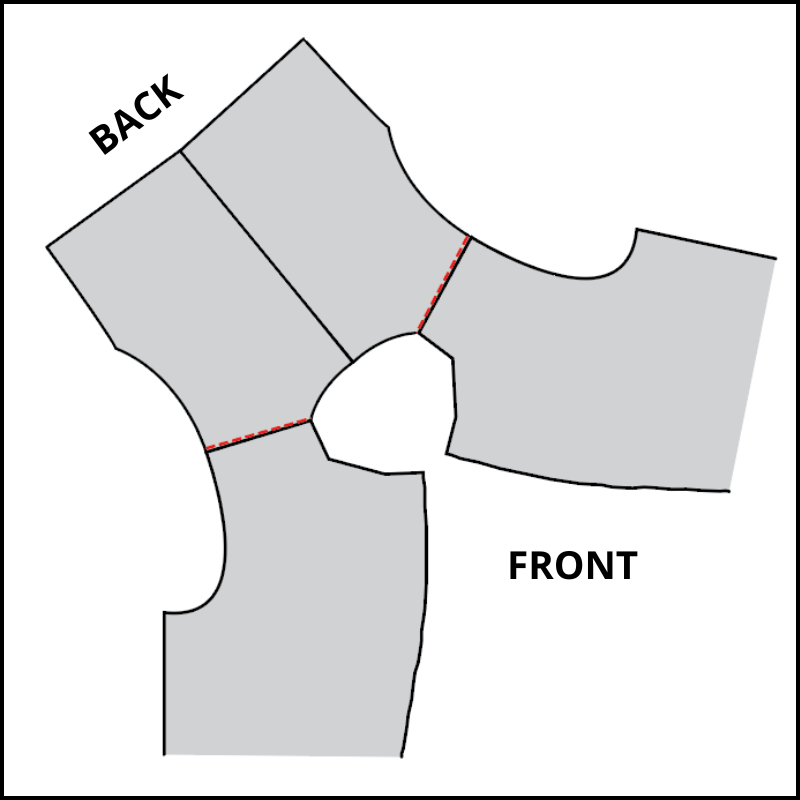
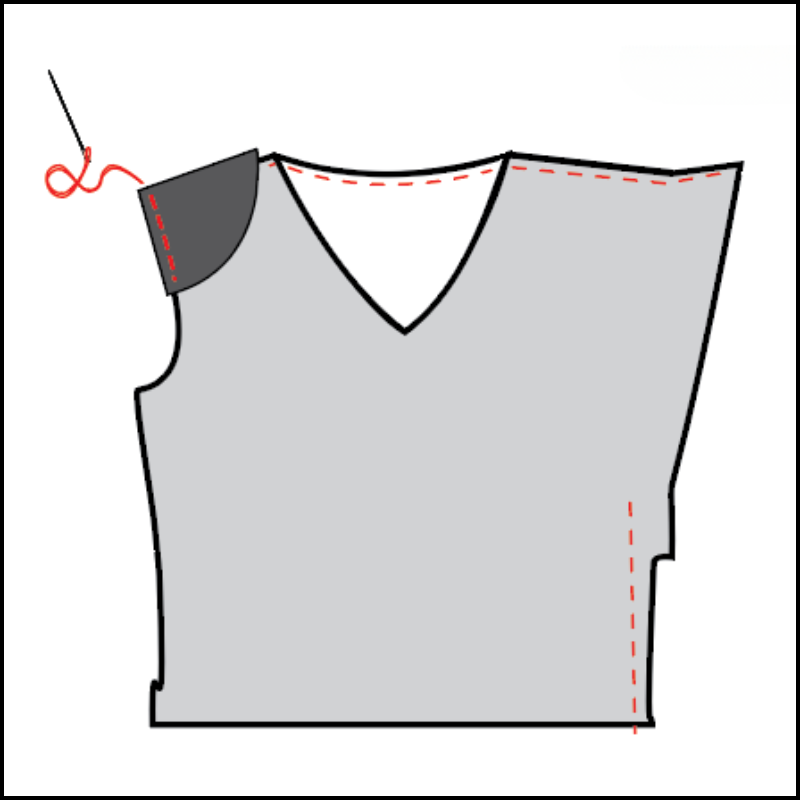
Sew back and front pieces at shoulders.
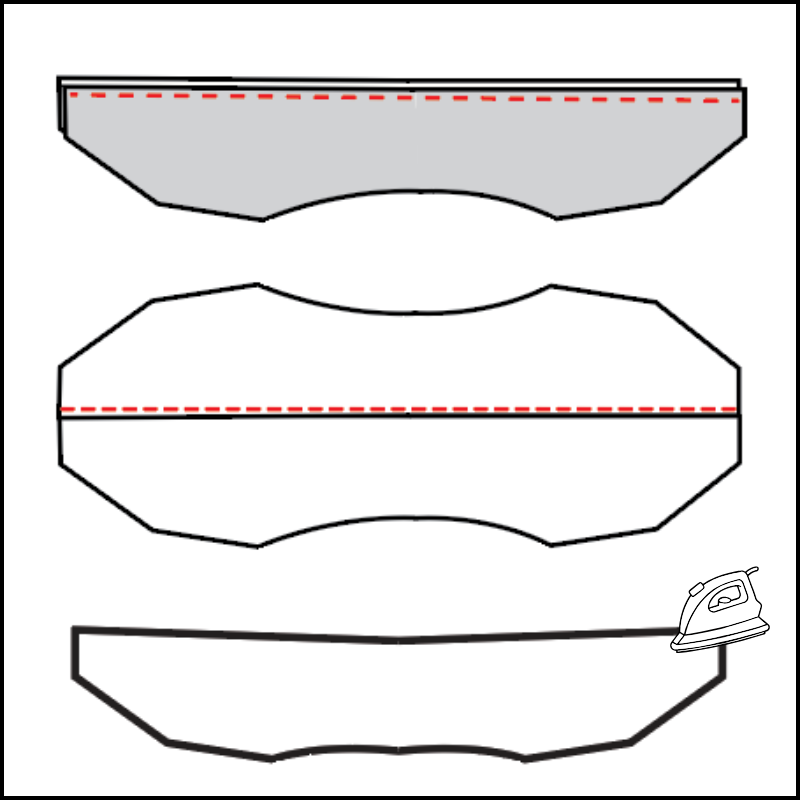
Sew the two collars together. Then, looking at the right side do a topstitch. Fold them and press.
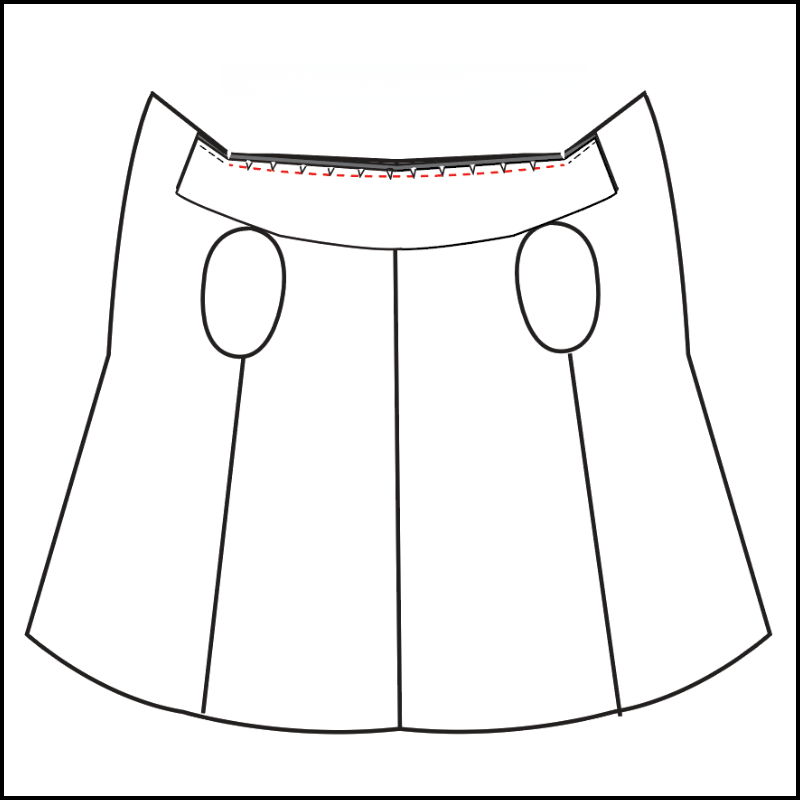
Create vertical cuts at the collar for better fit. Match with the body and sew.
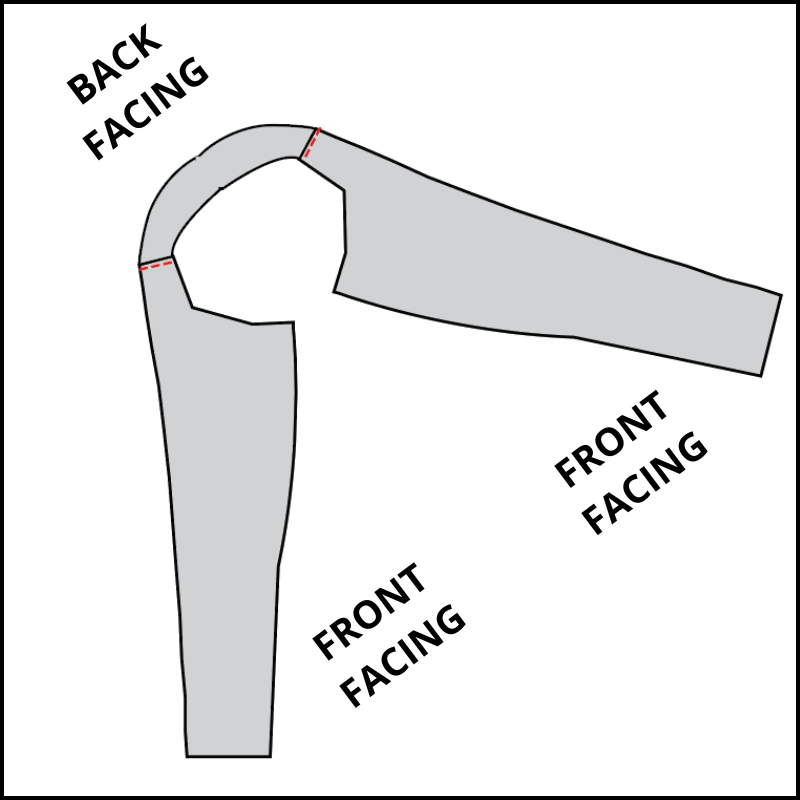
Sew together the back faing with the front facings.
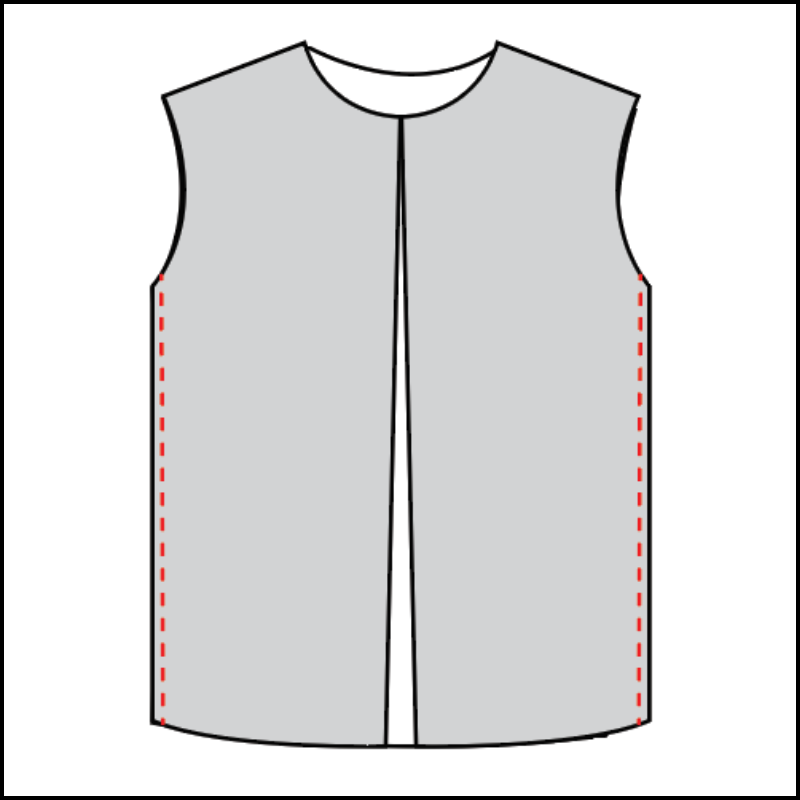
Sew back and front at side seams.
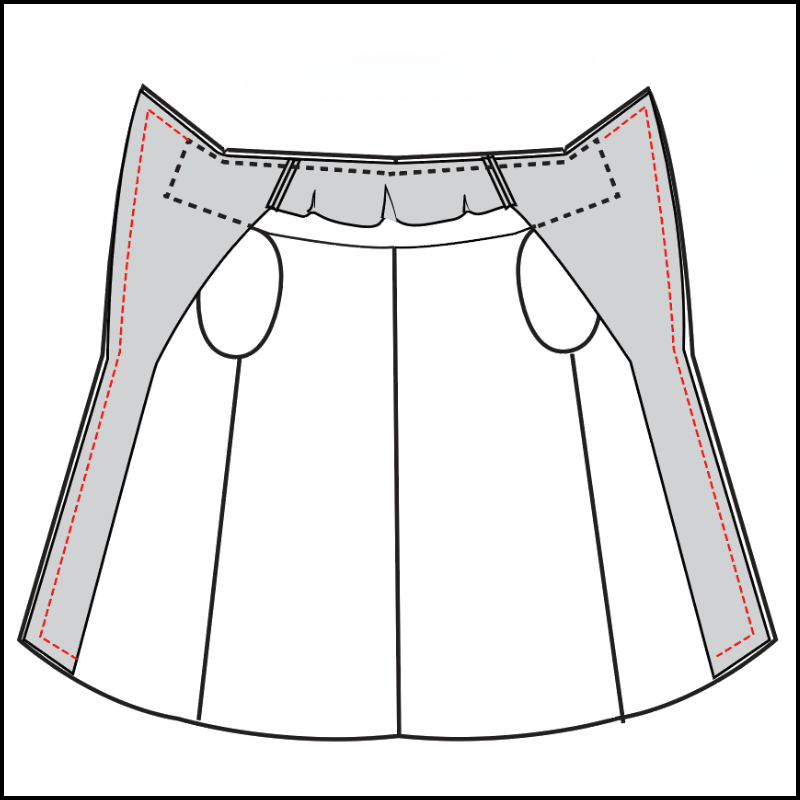
Sew the facings to the body.
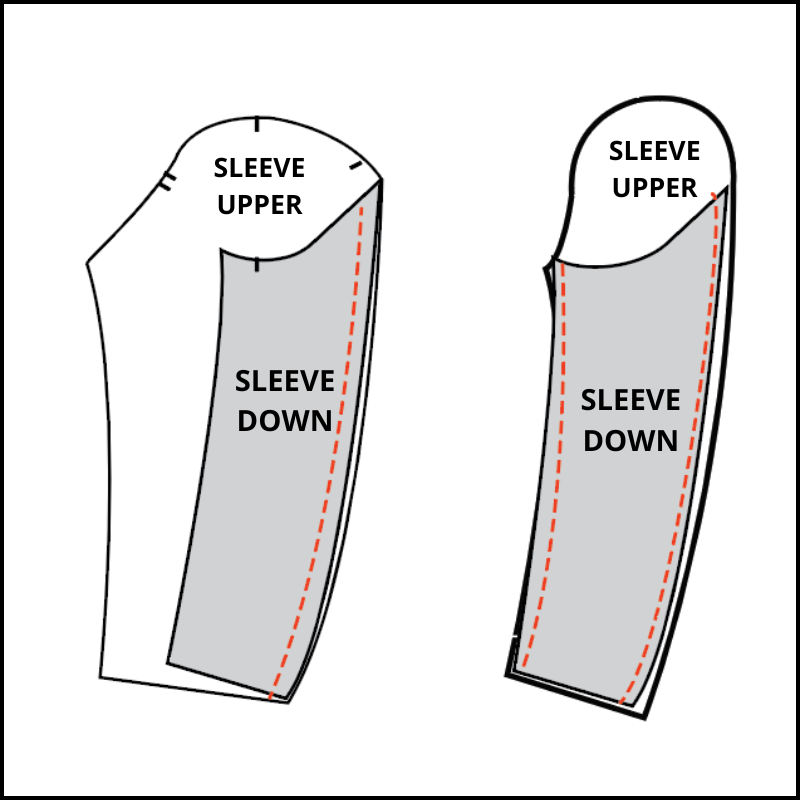
Sew upper sleeve with down sleeve. Repeat for the other sleeve.
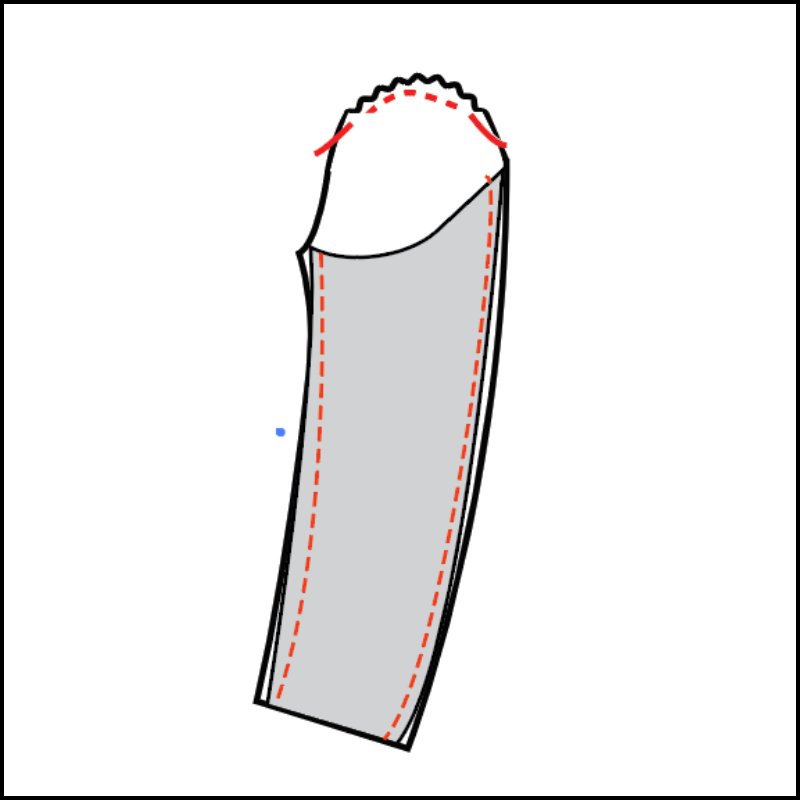
Usually the sleeve perimeter is slightly larger than the armohole perimeter. It gives a better fit once sewn. To match them use basting to shirr slightly the upper part of th sleeve.
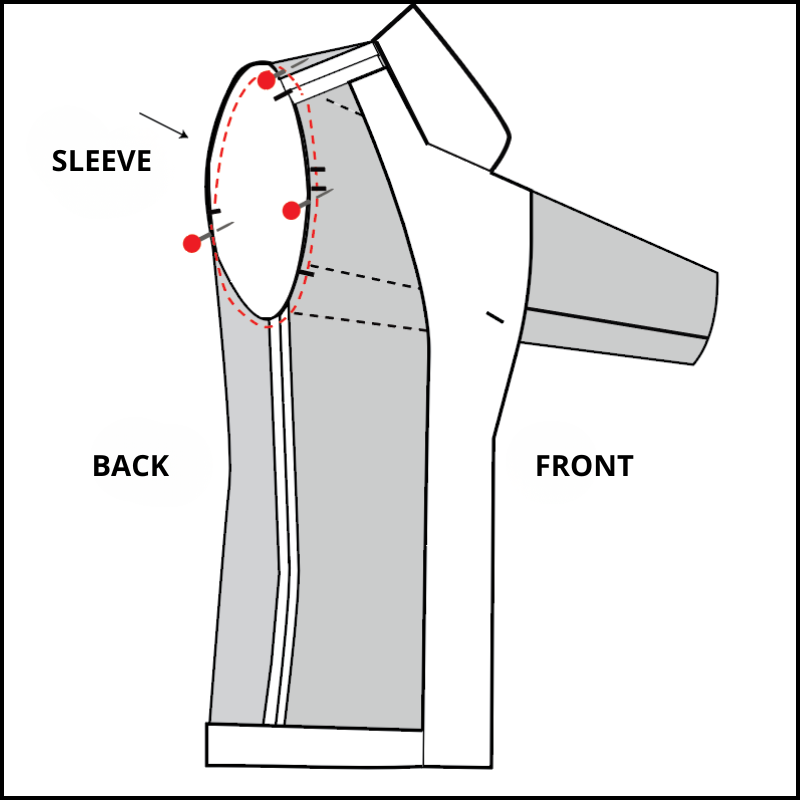
Slip the sleeve through the armhole and sew.
Hand stitch the shoulder pad. Proposed height: 1.5 cm / 0.6"
From Precision to Personality, Your Next Steps in Sewing Mastery
Once you understand blazer construction, you’ve unlocked one of sewing’s greatest skills: structure. Balance that with movement by exploring seamless design in stretch garments. If performance fit is your thing, try sewing men’s bodysuits or build your base with seamless bodysuit patterns. Prefer polished everyday ease? The oversized button-up sloper pairs perfectly with your tailoring skills—and if you’re sewing for pregnancy or post-partum, map out a smart capsule with Maternity Sewing Patterns for Every Trimester.
Keep pushing the boundaries—because once you master structure, every pattern becomes a canvas.