How to use Projector Sewing Patterns
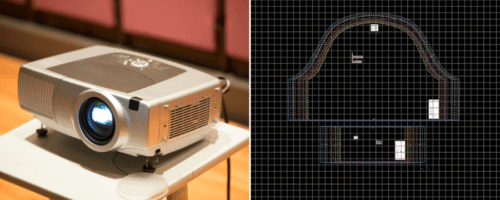
Sewing pattern projector files are designed for use with a projector to display the pattern directly onto fabric, eliminating the need for printing and cutting paper patterns. Here’s how to open and use them effectively.
Understanding Sewing Pattern Projector Files
Projector files are provided in PDF format. They are optimized with:
No margins for continuous projection.
Bold lines and clear markings for visibility.
Calibration layers to ensure accurate scaling.
White and Black Background to ensure visibility on different shades of surface.

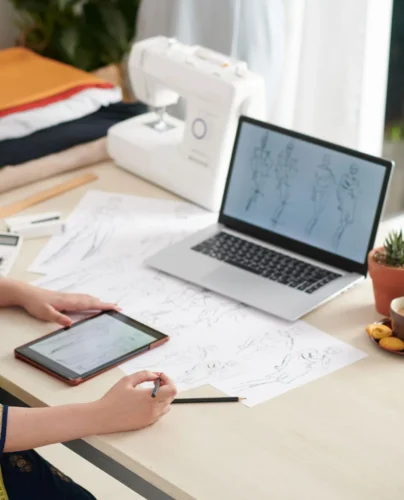
Tools You Need
Projector (Ultra short throw, short throw, or ceiling-mounted)
Computer or Tablet (to open the file)
Papers & Pencils (to draw and manipulate the pattern blocks)
Cutting Mat & Tools (rotary cutter, fabric weights)
Opening the projector file
On a Computer
Use a PDF viewer like Adobe Acrobat to open the file.
Enable layers to select the correct size.
Check scaling (100% zoom) using the calibration grid provided in the file.
Check background color from the layers feature.
On a Tablet
Use apps like Xodo PDF Reader (for Android/iOS) or GoodNotes (iOS) to open and zoom the pattern.
Get Ready to Sew with Perfectly Printed Patterns!
Now that you know how to use projector sewing patterns, why not explore even more sewing resources? Learn about the basics in What is a Pattern Block?, discover the difference between patterns in What is a Sewing Pattern?, or follow our step-by-step Printing Instructions if you prefer traditional paper patterns. Ready for your next project? Visit our Sewing Patterns collection for endless inspiration, and don’t forget to check out our Knowledge section for more helpful guides.
If you need further assistance, red our extended guides or reach out for support. Happy sewing!